Hasselblad 3F Raw 16bit Scan Service
For Your Analogic Workflow
The best 3F Scan Service and Support on the Market
3F is a proprietary file created by Hasselblad, which allows one to get from film a file that, from a functional point of view, is the equivalent of digital a raw. We offer a state-of-the-art 3F Scan Service for a very convenient price together with the best 3F support on the market. Purchase our scans or download free our 3F Package and try the system.
- Transform your analog original in digital preserving all information. 90%
- Non-destructive workflow similar to digital raw 98%
- Retouch originals once for all and save your archive forver 85%
Hasselblad 3F – Compatibility
Photoshop CS2 up to CC 2022.
WIN: Vista to WINt 11.
MAC: Leopard to High Sierra
MAC: Not compatible with Big Sur and later
Acquista le scansioni 3F
Read More
Try for free The 3F Scan
The package contains:
- N. 1 3F from a 35mm b&w negative
- N.1 3F from medium format color negative
- N. 1 3F from 4×5 inches transparency
- Flexcolor installer MAC/WIN
- The “Imacon 3F” plugin
- The user manual
Download the Package
3F is Not a Scan. It's a Raw File
When you think about 3F don’t think about a scan. Think about a System that converts the information stored in your negative into information stored in a digital file. With 3F and Flexcolor you’ll be able to use the same workflow of your digital file. Modify, export settings, save in batch. Exactly like your digital raw file, your 3F will remain untouched.
Manage it like a digital file.
Change end export settings in batch.
Preserve history and add metadata.
Retouch the originals once for all.
Change output mode, ICC profile, add USM and Crop in a reversible way.
This is a perceptual system. Created for photographers
You don’t need to be an expert scanner operator to set your files. You’ll simply see an hi-res preview exactly like in Photoshop and modify it according to your needs.
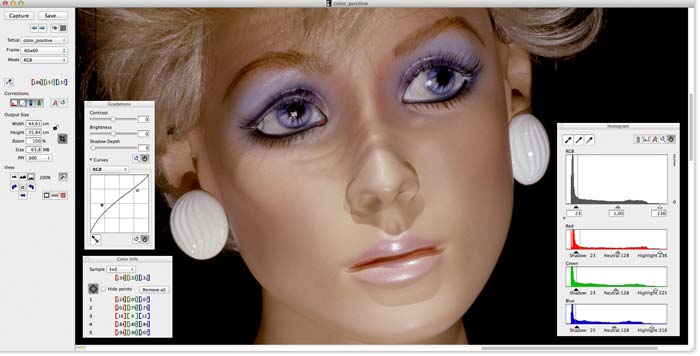
The Flexcolor workflow | Preview your file and you settings at full screen.
With Flexcolor you can watch your file at full screen in Camera Raw and i.e. if you apply a unsharp mask or edit the white balance or the local contrast, you can see exactly this settings applied before to the full-size file. All this is something taken for granted in the digital but in the analog workflow is exclusive and innovative.
In Flexcolor this working mode is called “Virtual Drum Workflow.” It means that the basic scan is done already. Untouched, flat, without us and the negatives are not inverted.

The Photoshop workflow | Don't like Flexcolor? Use Photoshop
If for any reason you prefer to edit your image in Photoshop you can do it. Only install the 3F Plugin, open the raw file within Photoshop and modify it like any other bitmap file.
However, I don’t suggest this workflow with color negatives as the Photoshop inversion (negative/positive) is not so good. It often generates a lot of noise and artifacts. Flexcolor with negatives and particularly with color negatives is unbeatable.

The Camera Raw workflow | Suggested with transparency originals only
I suggest this option only from transparency originals because negatives can be inverted within ACR but hardly edited.
Install the 3F Plugin, open the raw file within Photoshop and only save it as a standard 16bit tiff file.
From Bridge “open with” with Camera Raw.
Then proceed as any other tiff or jpg you are used to managing within Camera Raw. The core difference is that this peculiar tiff is much more abundant of information than a standard one.

Tips: Two option for the ICC management
- The 3F file come untagged. When you save the tif din’t assign any profile and manage it within ACR.
- Assign to the file opened in Photoshop the Flexcolor system ICC profile, mostly “Flextight X5 & 949” then convert itin your preferred working profile

The Roberto Bigano Workflow | A mix of Flexcolor, ACR and Photoshop
With this workflow, I was able to reach the next level and significantly improve many files previously post-produced.
Here below my workflow.
Balance the color of my file within Photoshop, keeping a moderate contrast. See below the tips.
Export the tiff at 16bit converting it to Adobe RGB or sRGB, according to my needs.
Open it with ACR where I can remove spots or scratches non-destructively. Then use all the tools to finely tweak the file ( clarity, for instance, is much more performing on this kind of files than digital ones).
Open them as an Advanced Object in Photoshop.
Add the final touch up and or ALCE etc.
Tips: Flexcolor has a useful Auto button. The default setting is suitable for standard export but too contrasted to be post-produced.
Only open the Setup window (command-U), open the auto tab and set a negative value in highlights and shadow.
The default setting is 0. My default may vary. Try to start with 5. Positive values=More contrast. Negative=Less Contrast

Quick Start Tutorial| The Raw Workflow from Analog Originals
Watch and Download the Hi-res Files
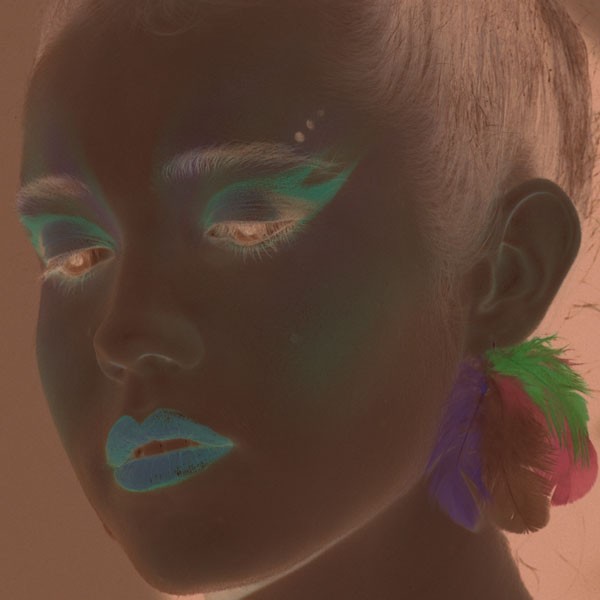
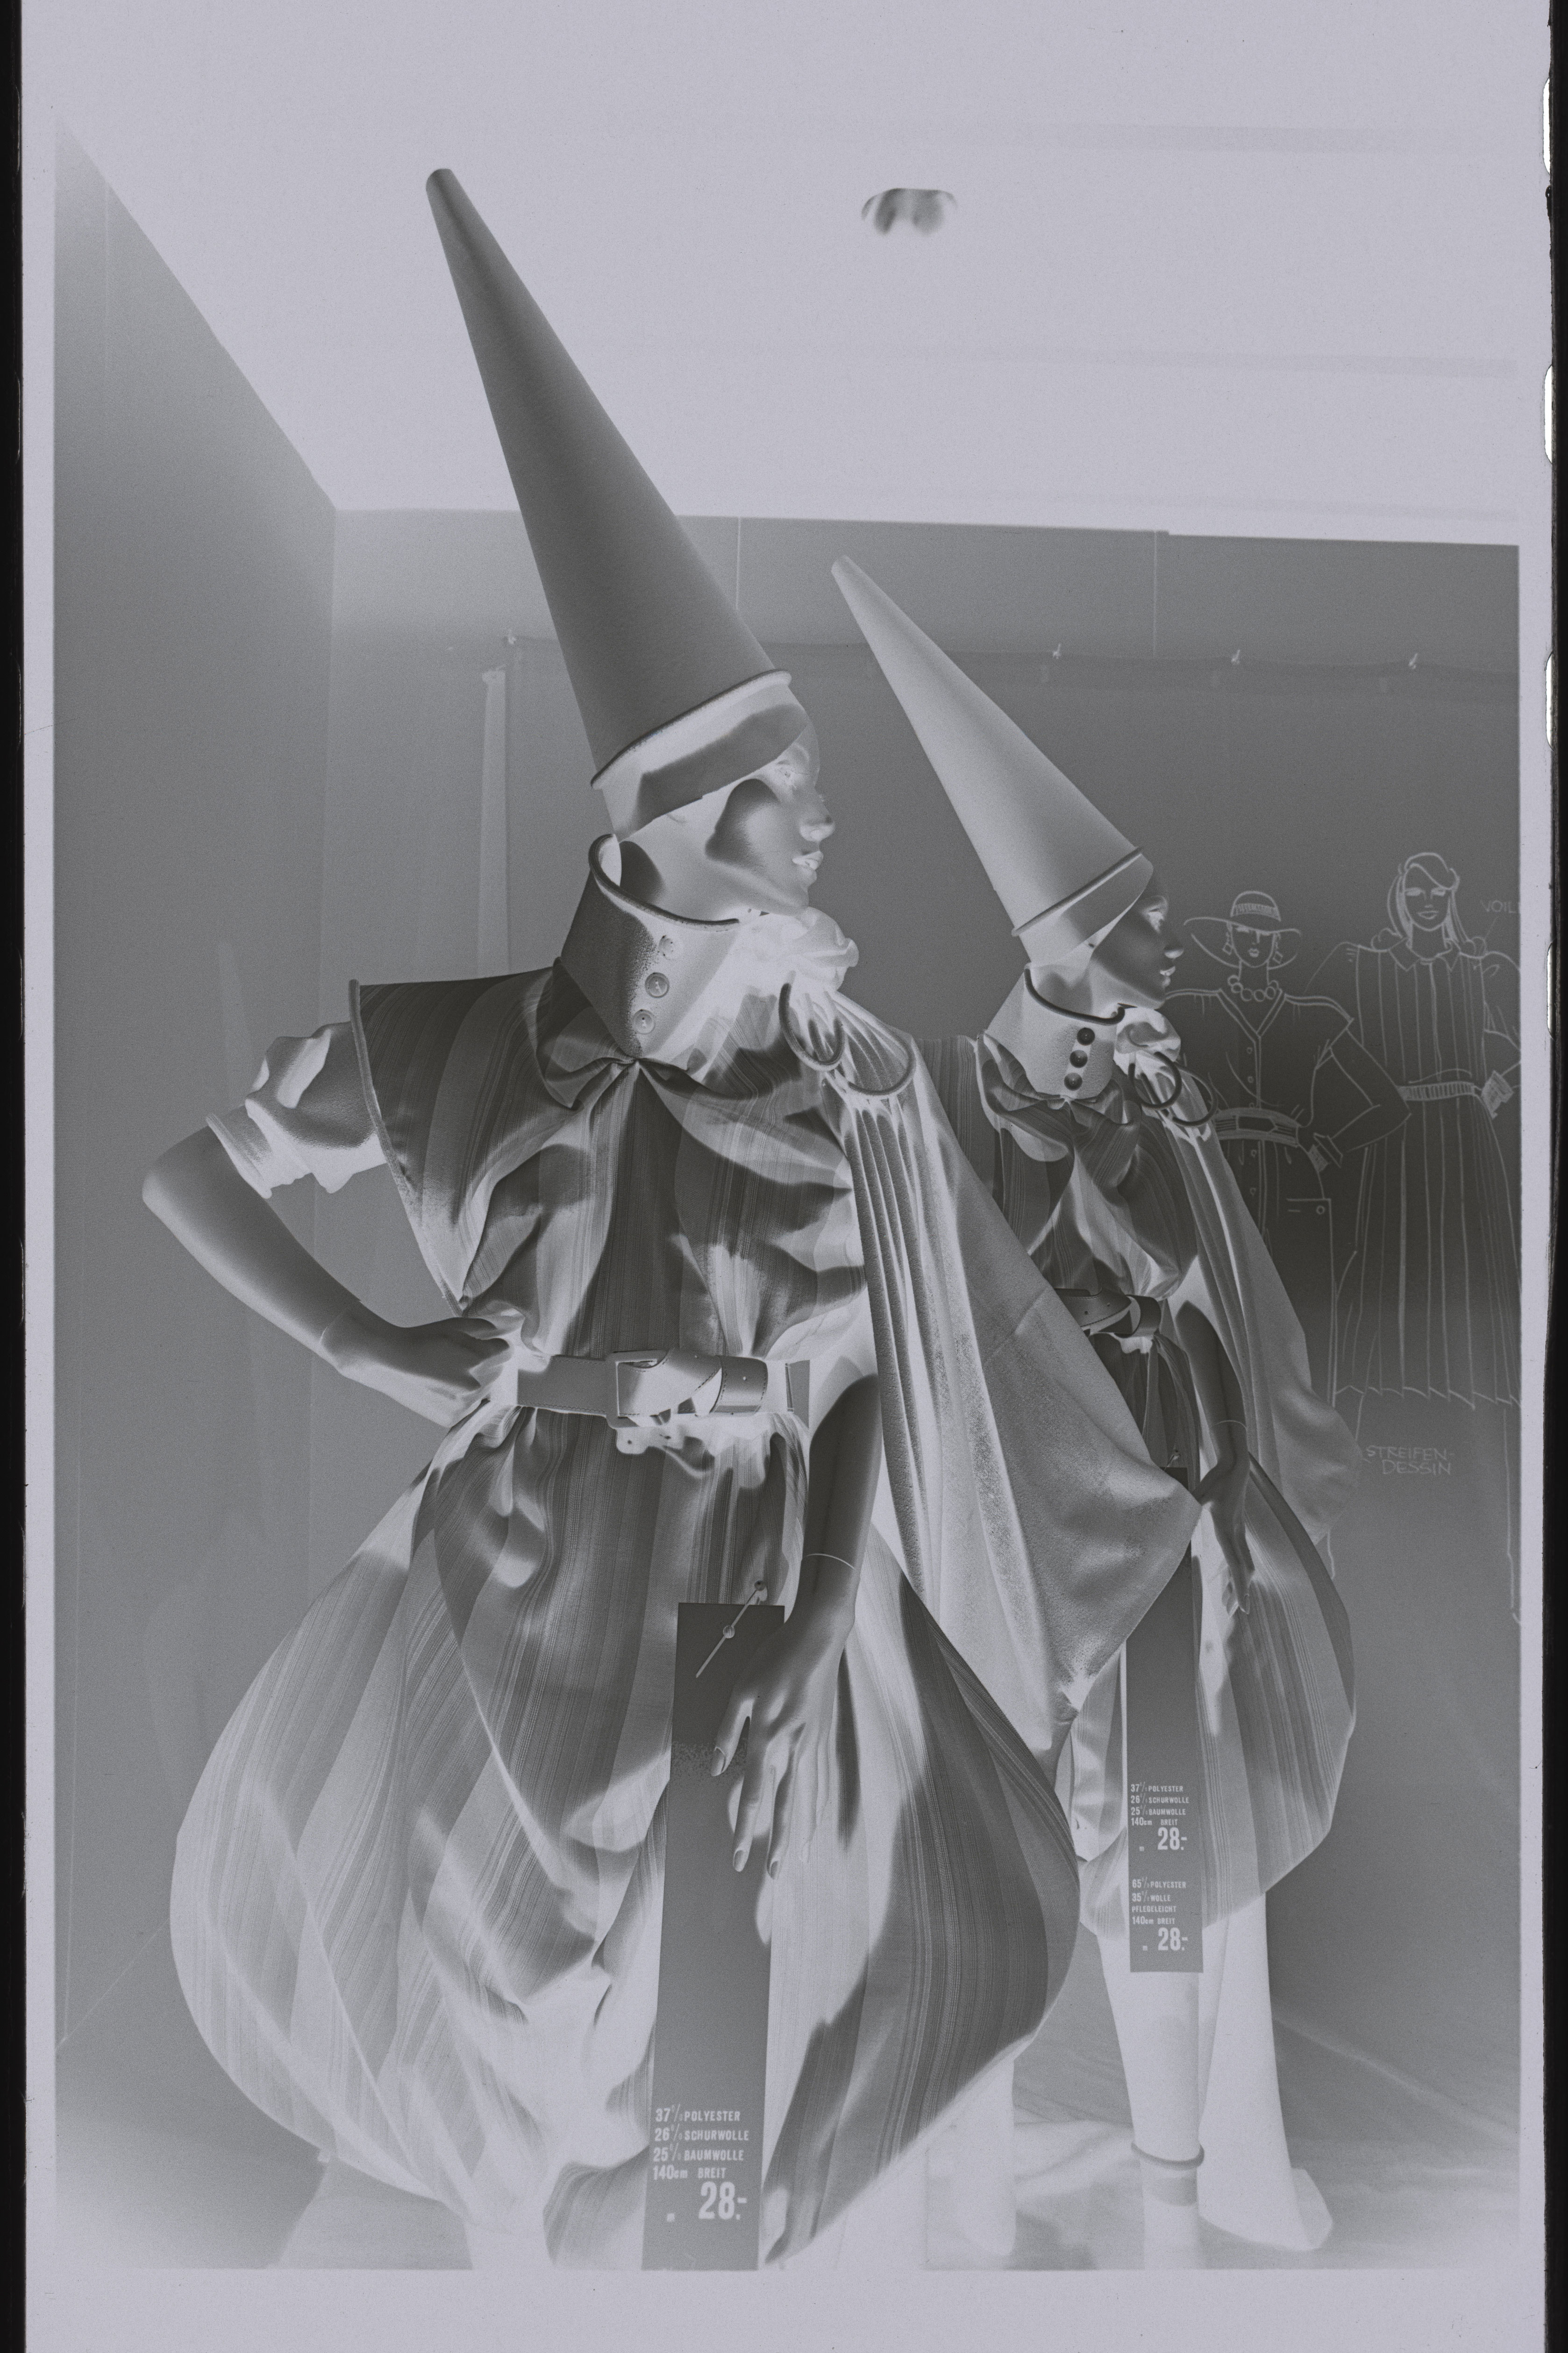
Here below you can watch and inspect the original .fff raw files as they come out of the scanner and the same files saved in as a tiff. Viewing the files in hires, you will be able to appreciate their quality. You can notice that the 3F file coming from a negative is still a negative, not a positive, and in its negative form, retains the full, rich, tonal range of the original. The file from transparency seems to be poor, but it’s a file of the greatest quality that has retained all the information in the original.
3F raw scan file from b&w 35mm negative
Film Ilford FP4, as it comes out from the scanner. Click on the in image to watch or download the hi-res file.
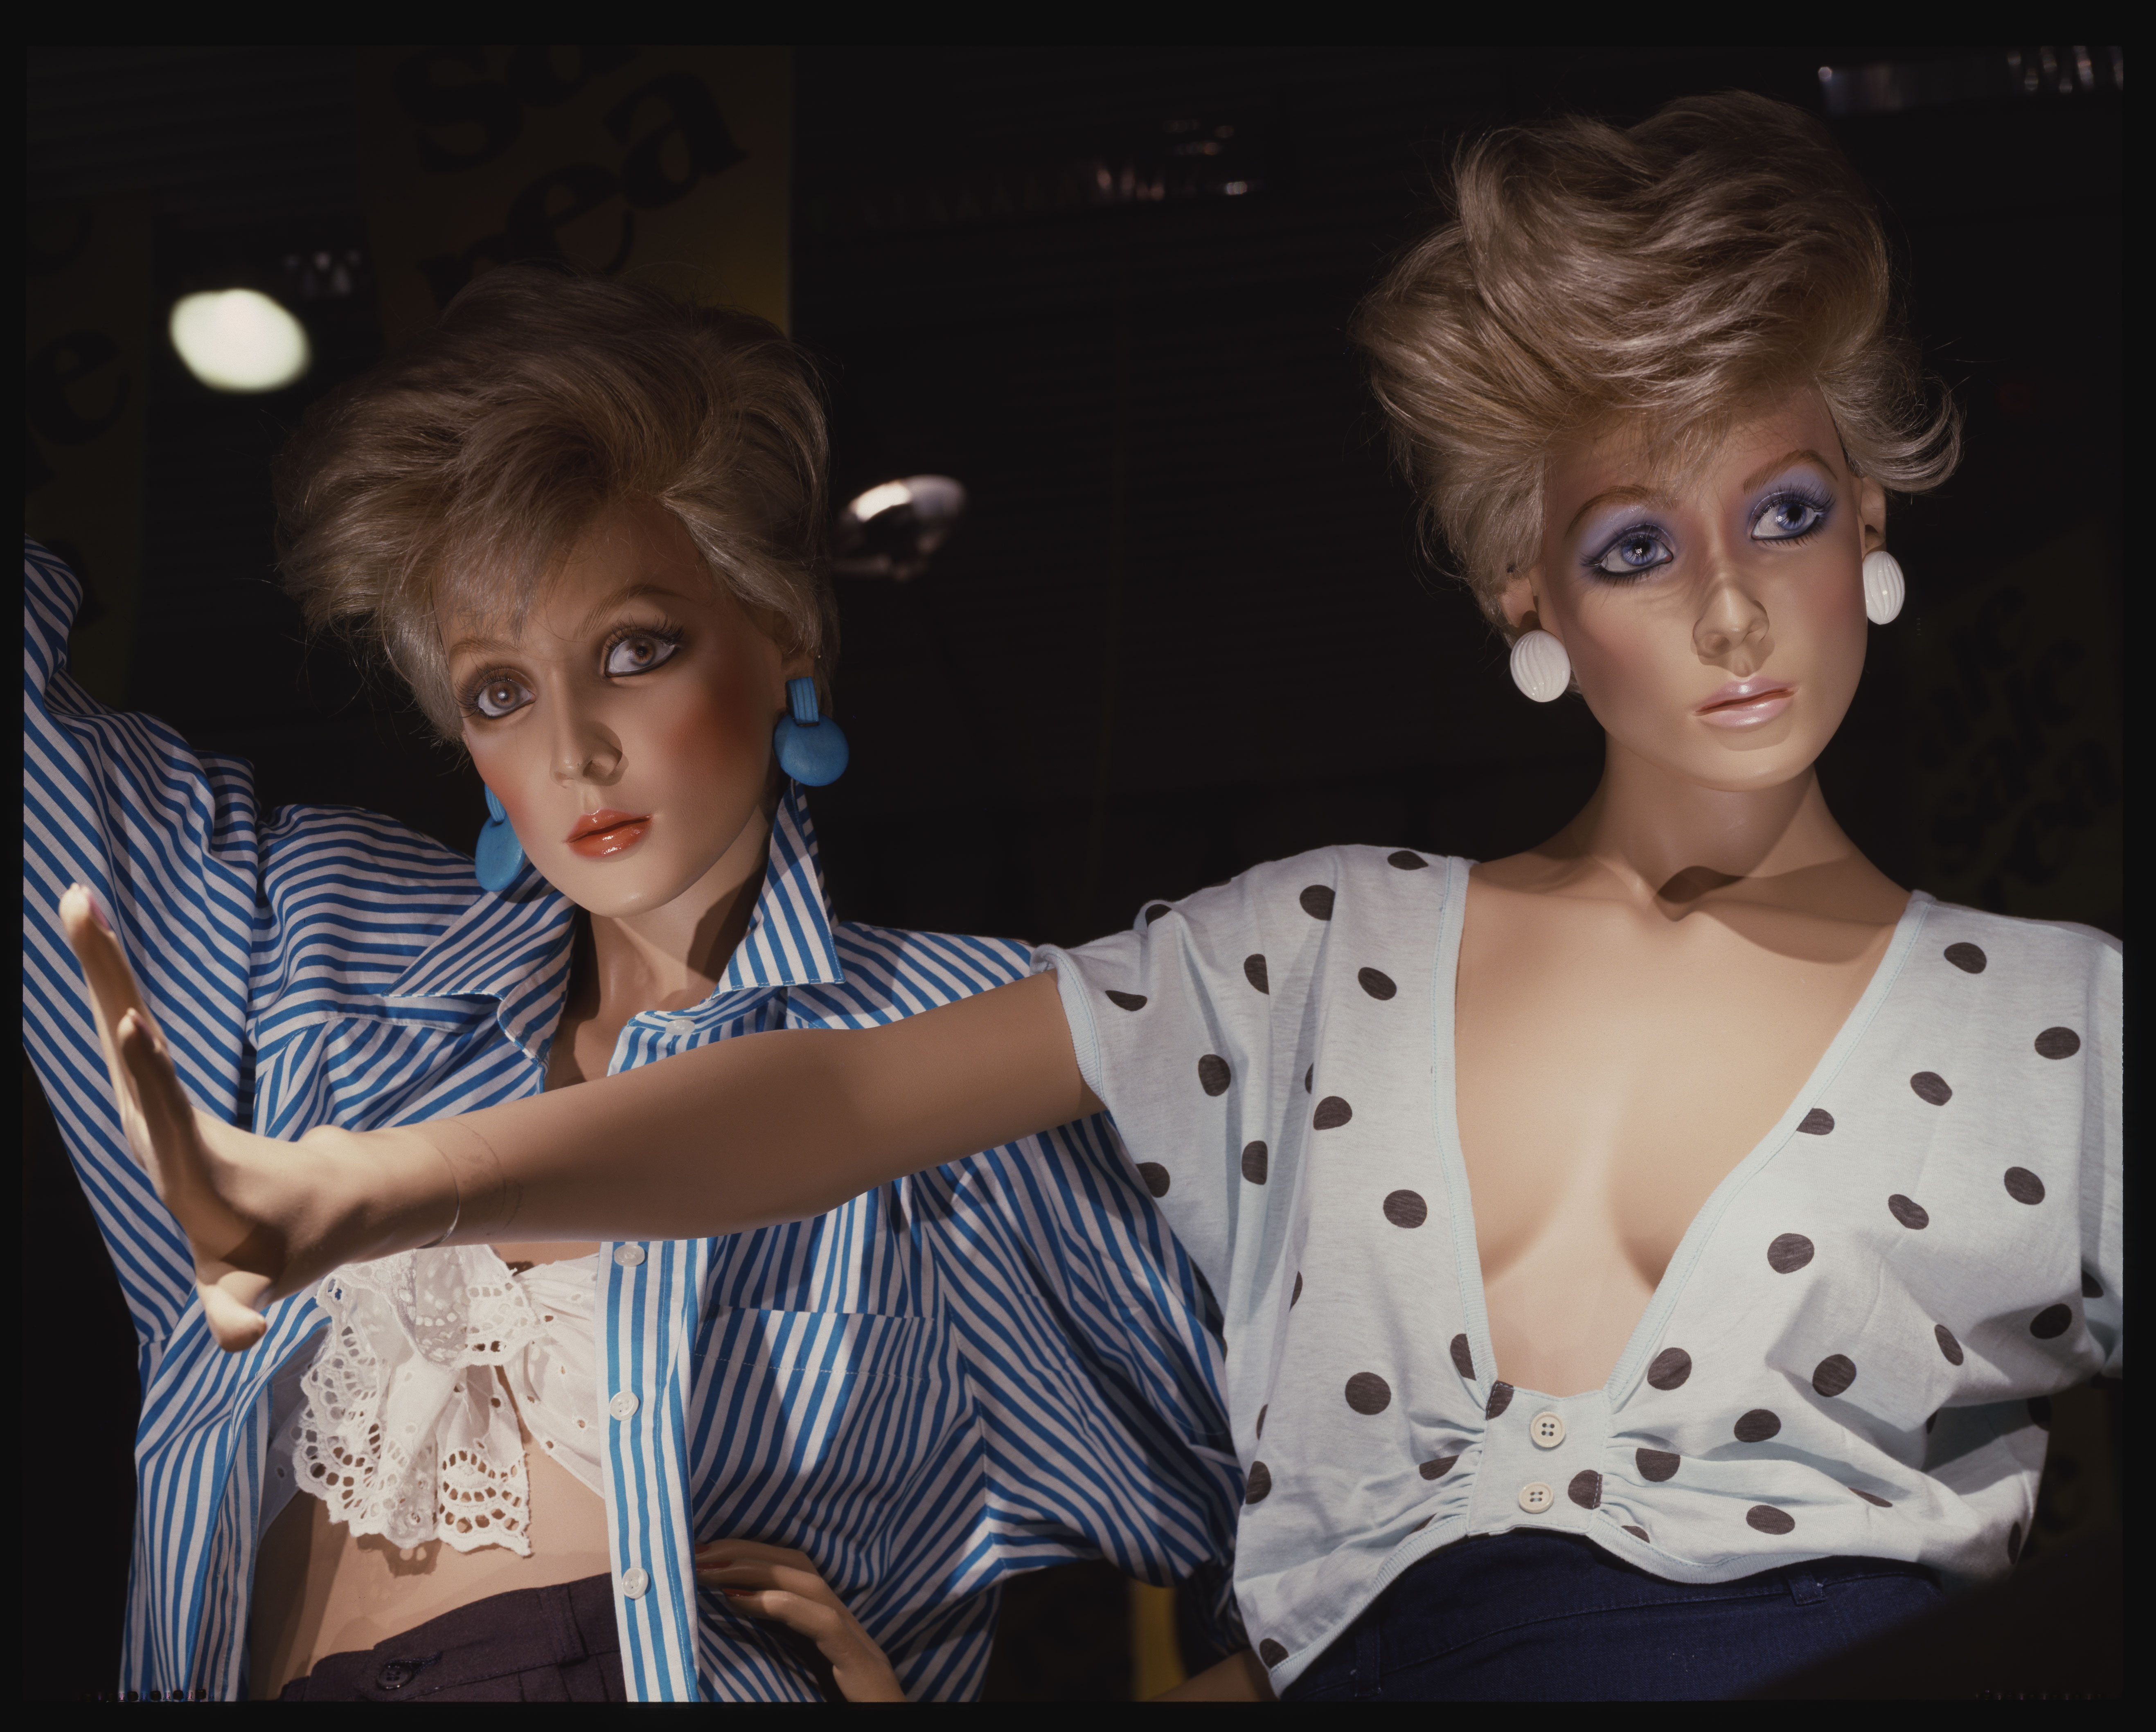
Saved tif from b&w 35mm negative
The tif exported from Flexcolor with any other intervention.

3F raw scan file from color negative
Film Kodak Vericolor HC, as it comes out from the scanner. Click on the in image to watch or download the hi-res file.

Saved tif from b&w 35mm negative
The tif exported from Flexcolor with any other intervention.

3F raw scan file from 4x5
4×5″ Film Kodak Ektachrome Professional 64 as it comes out from the scanner. Click on the in image to watch or download the hi-res file.
Saved tif from 4x5
The tif exported from Flexcolor with any other intervention.
