hr /
Mask Equalizer Training Page
This page is part of the brand new instructional and training system we have designed.
The user manual can be easily accessed by clicking on the book icon at the bottom of all the new plugin panels. From the green buttons of the manual front-page, you can access to the chapters in the manual. Further links in the pages redirect you to this page sections or other related contents on this site or elsewhere.
Use the green buttons on the left to quick access to the various topics.
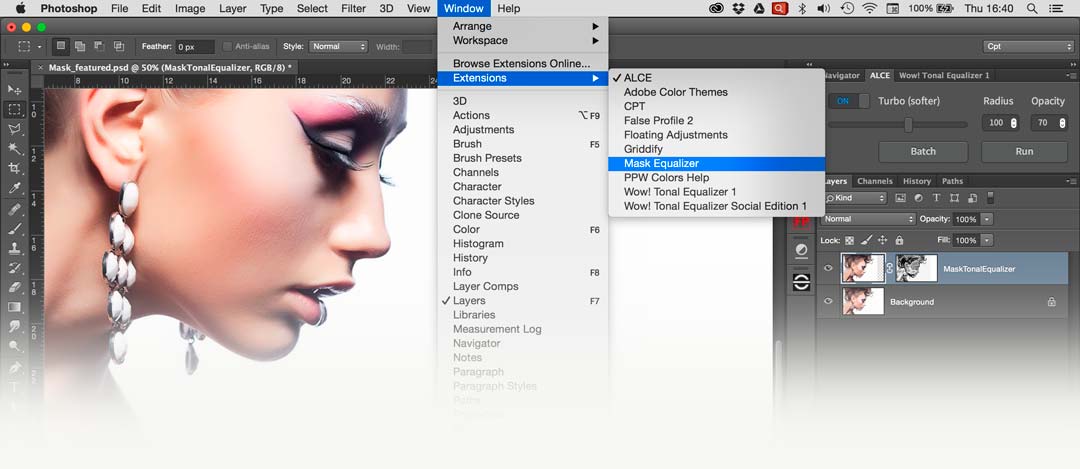
Open Mask Equalizer
Open Mask Equalizer from Photoshop/Window/Extensions/MASK Equalizer menu
Do NOT open it from Photoshop/Filter/Know-How Transfer/Mask Equalizer 1.0. This is only for internal use.
Tutorials
A quick tutorial to start. Plus the basic and advanced tutorials by Marco Olivotto.
The Panel

The Presets
To start, you have four presets buttons that cover the most common needs. Shadows, Mid-tones, Highlights and, the most used, Shadows+Highlights. Our developers designed them carefully so, very often they are ready to use, but of course, you can tweak them according to your needs. The names refer to what they mask, so “Shadows” hidden the shadows etc.
Watch the presets in action in the Quick Start Tutorial or the Advanced Tutorial
The Sliders
Vertical sliders.
They allow creating masks from multiple luminosity bands. Left to right, blacks, shadows, shadows/mid tones, mid tones, mid tones/highlights, highlights, and whites. Starting from the presets, or from scratch, you will be able to easily and quickly create even the most elaborate mask.
Horizontal sliders, visible in the panel extended mode.
They allow changing the aspect of the mask created by the vertical sliders. You can change the opacity of the mask, feather it or tweak its contrast while keeping the mid tones unchanged.
The use of these options, usually complicated, is made easy by the double preview which will allow you to work perceptively.
Watch the sliders in action in the Quick Start Tutorial or the Advanced Tutorial
Mask and Comp Preview
The double live preview is the priceless wonder-option of MASK Equalizer. You can preview the black & white mask or just the image with the mask already applied. Switching from mask to image (comp) preview, using the new toggling button, you will be able to refine the mask perceptually, blur it using the feather slider, modify its opacity or change its contrast.
Watch the preview in action in the Quick Start Tutorial or the Advanced Tutorial
Feather. Mask Blurring
In general, you will blur the mask using the Feather slider to avoid posterization and banding. But, how much to feather? Well, there is not a rule, but don’t worry, it’s easy switching from MASK to COMP Preview. Here below two examples.
In the first one, we used Feather 35 to avoid an unacceptable posterization in the shadows of the white horse.
In the second one, we didn’t feather at all to preserve the shadow detail in the mannequin’s eyelashes.
Learn more in the Advanced Tut.
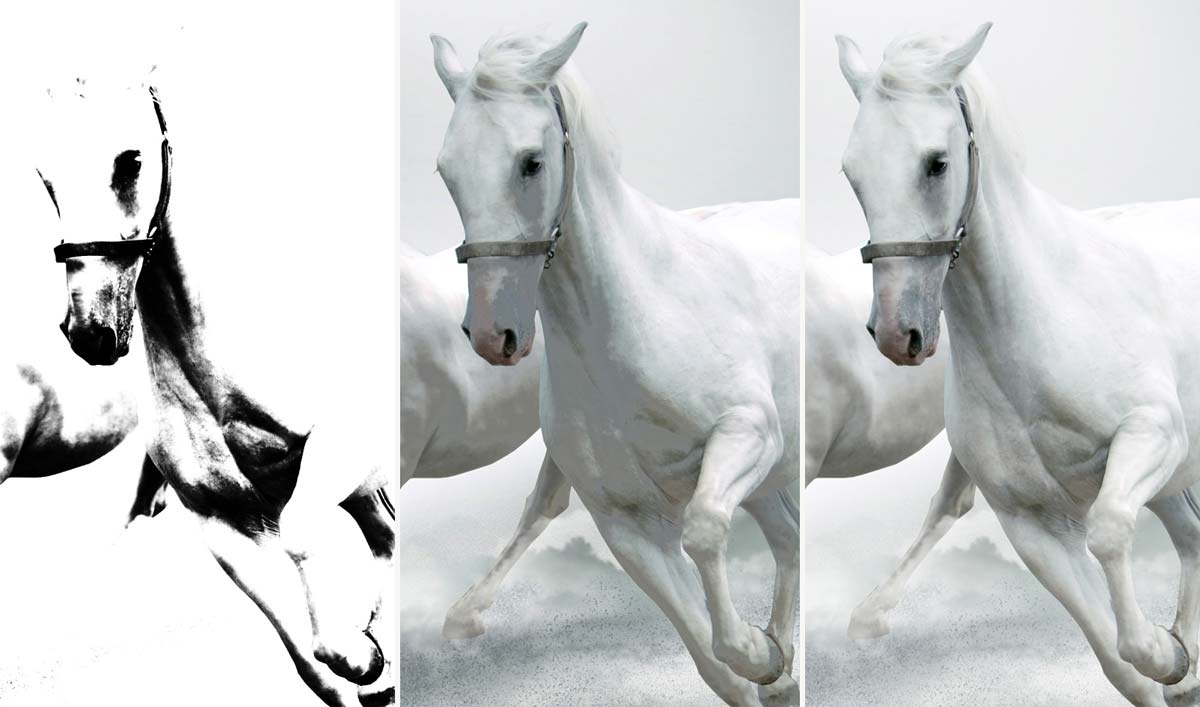
We added a shadow mask to a curve adjustment layer: judging from the Mask Preview it looks fine. Once switched to Comp Preview you may notice an unacceptable posterization. Feathering 35 posterization has been removed.
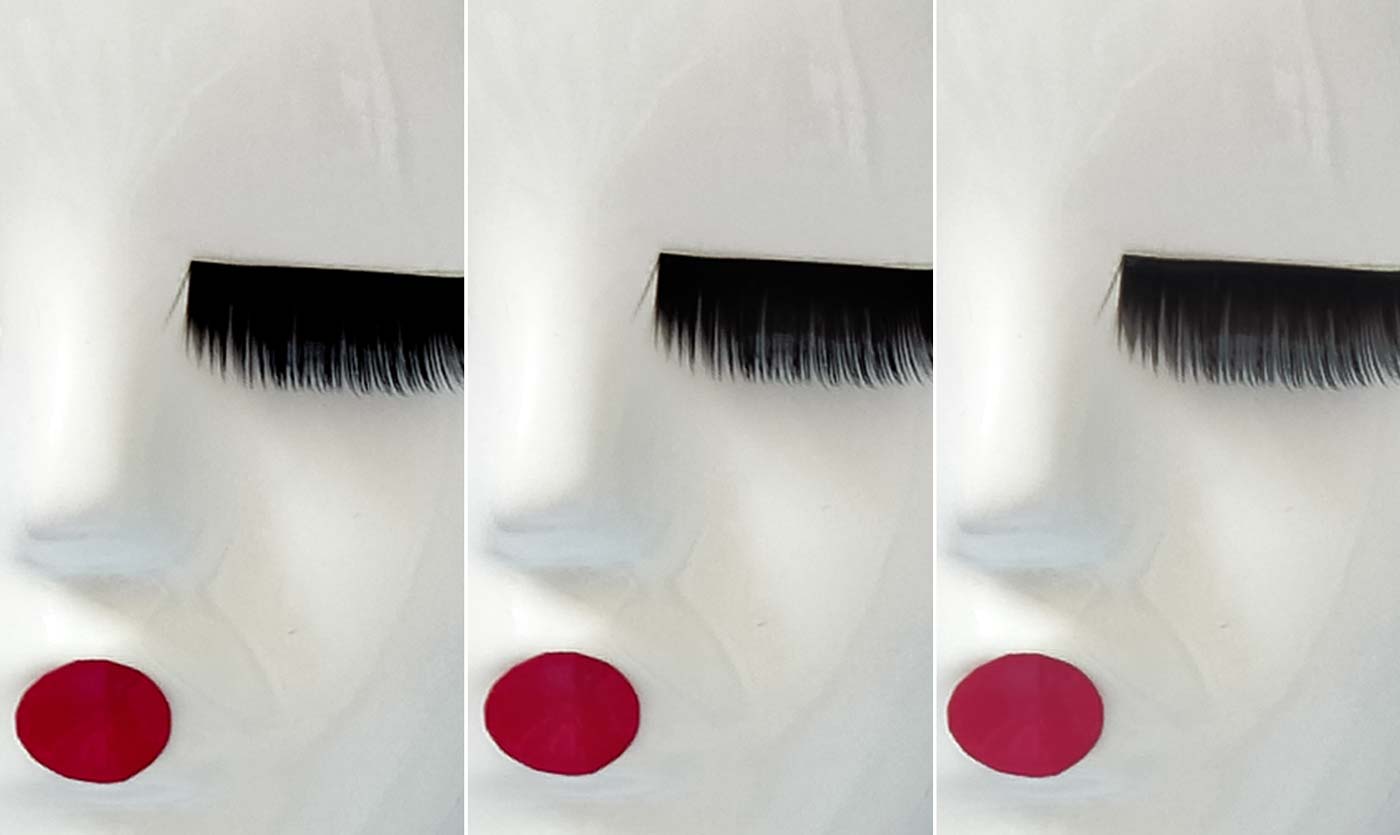
We wanted to lighten the eyelashes. Blurring 35 canceled the correction. Blurring 0 was perfect as revealed the subtle details in the blacks.
Add a mask to nonpixel layers
Note: a PS window will alert you that a duplicate layer will be created on top.
MASK Equalizer works only on pixel layers. What about if you need to add a layer mask to an adjustment layer, advanced object or group? Easy, it creates a composite layer on top and deactivates the original layer or group.
Once created the mask, the user must simply drag the mask to the original layer, activate it and trash the temporary layer.
Watch the video below or learn more in the Advanced Tut
Left to right. The original curve. The composite layer with the layer mask. The curve with the layer mask.
Mask Equalizer + Wow! Frequency Equalizer Pro 2
This plug-in that creates sophisticated luminosity masks with one click shines used together with Wow!
Thanks to Mask Equalizer you can push the sliders of Wow! Without worrying about blacks details or lights unwanted areas.
Just apply the highlights+shadows presets, a quick adjustment and a bit of feathering will fix this issues. As a final touch, opacity slider will help you to control the amount of the effect. This before after below is a one-step application.

The original and a single application of Wow! (Classic or Pro). The sliders value were: +6, -4, -3, +1, +6. The +6 on the fifth sliders was imperative to counter-balance the negative values in the second and third sliders; however, the blacks lost detail. We just add a shadow layer mask using Mask Equalizer and done!
Mask Equalizer with Wow! Pro and Decompose.
The two plugins work even better in non-conventional techniques using the Decompose function in Wow! Pro. Mask Equalizer, in this case, makes the difference for a next level control of contrast, local contrast, sharpness, highlights and shadows detail.
Just launch “Decompose” first and reduce the opacity of the “Base” layer, i.e. 50. Then add a shadow or shadow/highlight mask to the “Decompose” group. Now drag the layer mask from the temporary layer to the “Decompose” group, activate it and trash the temporary layer. Finally, you can tweak the opacity of the base layer. Contrast, local contrast, saturation, and sharpness will be improved with a natural result and no halos.
A tutorial will come soon.

The original and the final result post-produced as described above. The contrast has ben re-allocated even in the rounded part of the side wall. Shape have been improved with a very natural effect. High frequency sharpening have been perfectly controlled increasing the contrast of the scale 1 and two. Last but not least: no halos at all.
Advanced Techniques
Sorry! This content coming soon!
Buy Mask Equalizer
Mask Equalizer is available as a single-user license, discounted multi-licenses packages or bundled with Wow! Pro Edition. Please, before to buy, check the compatibility below.
Buy Mask Equalizer Single User License €32/$35
Buy Mask Equalizer + Wow! Frequency Equalizer Pro Edition €58/$63
Compatibility and version
Photoshop CC and later, CC 2020 included
WIN: Vista and later, WIN10 included, 64bit only
Mac: OSX7 Lion and later, OsX Catalina included
Catalina users must download the dedicated install folder
Not compatible with CS6, sorry
Current Version: 1.1.3
Toggle to access the version history
1.1.3 February
Now the Mask/Comp preview is a toggled button and is easier to use
1.1.2 January 2017
Fixes an issue with the Apply button
1.1.1 January 2017
The COMP/PREVIEW option is now available as a more functional Toggled Button.
The small book icon in the bottom of the manual now correctly opens the user manual in WIN.
1.1.0 November 2016
Fixes a bug of MASK Equalizer crashing if used with NEXT
User Manual
We completely redesigned user-friendly manuals. They are now available from the plugin panel, by just clicking on the book icon. The links on the front page take you directly to the relevant section of the manual. The pages include links to additional external content like training pages, tutorials and more.


You can access the user manual trough the book icon at the bottom of the panel. You may verify if a more recent version is available checking the release date in the manual’s front page. To update the embedded manual download the latest version and replace it in: MAC: Macintosh HD/Library/Application Support/MASK
WIN: C:\Program Files\Common Files\Know-How Transfer\MASK